

In 2026, having an online presence is no longer optional for local businesses it’s essential for survival and growth. With the rise of quick commerce in India, platforms like Blinkit have become powerful tools for retailers looking to scale faster.
If you want to increase your reach, attract more customers, and grow your revenue, this step-by-step guide will help you get started as a Blinkit seller.
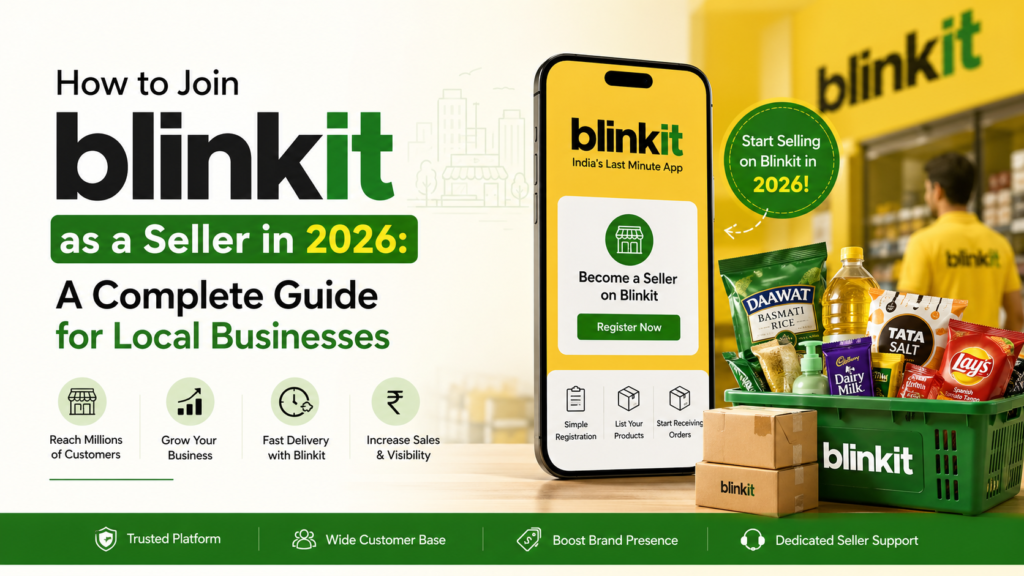
What is Blinkit?
Blinkit is one of India’s leading quick-commerce platforms, specializing in delivering groceries and daily essentials within minutes. It connects local sellers with nearby customers through a streamlined digital ecosystem.
For small and medium businesses, Blinkit acts as a high-visibility marketplace where products can be discovered and delivered quickly.
Why Sell on Blinkit in 2026?
Joining Blinkit offers several advantages for local businesses aiming to grow in a competitive market:
🚀 Reach More Customers
Expand beyond your physical store and tap into a large, app-based audience.
💰 Increase Sales Opportunities
Benefit from high demand for fast delivery of everyday items.
⚙️ Easy-to-Use Platform
Manage orders, inventory, and payments through a simple seller dashboard.
⚡ Fast Delivery Network
Quick delivery improves customer experience and encourages repeat purchases.
Step-by-Step Process to Become a Blinkit Seller
Step 1: Prepare Your Business Documents
Before applying, make sure you have the following:
- Business registration certificate
- GST number or tax details
- Bank account information
- Valid address and contact details
Having these ready ensures a faster onboarding process.
Step 2: Register on the Blinkit Seller Platform
Go to the official seller registration page and submit your business details. Double-check all information to avoid delays during approval.
Step 3: Complete Verification & Onboarding
Once you apply, Blinkit will review your details. This stage typically includes:
- Document verification
- Seller account setup
- Training on how to use the dashboard
You may also explore professional onboarding support if you want a quicker and smoother setup.
Step 4: Upload and Optimize Your Product Listings
After approval, start adding your products to the platform. For better visibility and conversions:
- Use high-quality images
- Write clear, keyword-rich descriptions
- Set competitive prices
- Keep stock levels updated
Well-optimized listings improve your ranking within the app.
Step 5: Promote Your Blinkit Store
Launching your store is just the beginning. To drive more sales:
- Promote your products on social media platforms
- Use WhatsApp and email marketing to inform existing customers
- Offer discounts or deals for first-time online buyers
Expert Tips to Succeed on Blinkit in 2026
To stay competitive and grow consistently, follow these proven strategies:
- Track customer demand: Focus on fast-moving and trending products
- Maintain inventory accuracy: Avoid cancellations due to stock issues
- Deliver quality consistently: Good ratings improve your visibility
- Engage with customers: Respond to reviews and queries promptly
- Run promotions: Offers and bundles help boost conversions
Conclusion
Selling on Blinkit in 2026 is a smart move for local businesses looking to expand quickly in the digital marketplace. With the right onboarding, optimized listings, and consistent marketing efforts, you can turn Blinkit into a strong revenue channel.
Start early, stay consistent, and adapt to customer demand to make the most of this fast-growing platform.